
- why-weather-matters-when-building-a-campfire
- choosing-the-right-location-during-rain-or-snowfall
- materials-and-techniques-for-starting-a-campfire-in-wet-conditions
- real-campfire-experiences-during-extreme-weather
- getting-the-right-gear-through-camp-spotter
1. Why Weather Matters When Building a Campfire
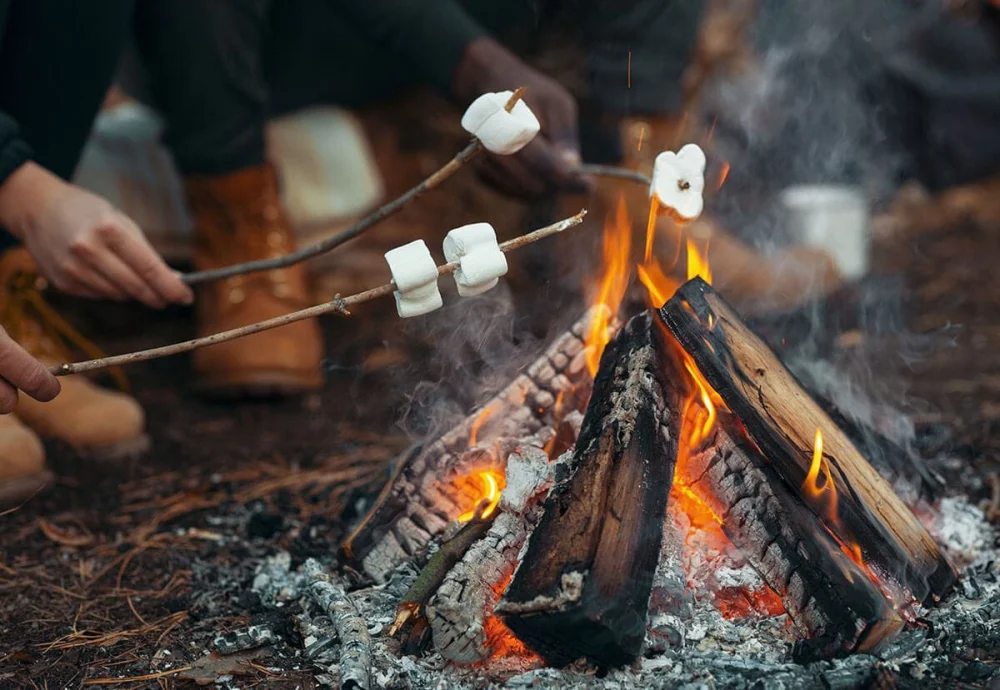
Knowing how to build a campfire during rain or snowfall isn't just a survival skill—it's also a gateway to comfort, warmth, and morale during unpredictable outdoor conditions. Wet weather introduces challenges that can turn a peaceful camping trip into a miserable ordeal if you’re not prepared.
Moisture impacts not only your ability to ignite a flame but also how long that flame will sustain. Damp wood, soggy ground, and continuous precipitation can make starting a fire seem impossible. That’s why understanding the science of fire-building in inclement weather becomes critical, especially for campers heading out during fall and winter seasons.
2. Choosing the Right Location During Rain or Snowfall
2.1 Look for Natural Wind and Water Barriers
One of the biggest mistakes campers make is trying to start a fire in open exposure. Wind and rainfall will instantly sabotage your spark. Search for natural shelters—under tree canopies (with caution), beside large boulders, or inside shallow caves. Even snowdrifts can act as windbreaks if shaped correctly.
2.2 Clear the Ground and Build a Dry Base
Rain or snow will saturate the earth, and placing tinder directly onto the ground will kill your flame before it starts. Lay down a base using dry bark, flat rocks, or even aluminum foil to create separation between the wet ground and your fire. If building in snow, pack it down hard and insulate with dry wood pieces or a fireproof mat.
2.3 Create a Makeshift Roof
If there’s no natural overhead shelter, consider constructing a quick tarp lean-to or angling a large poncho with paracord and stakes. Just ensure smoke has a clear exit path—fire needs airflow as much as it needs shelter from moisture.
3. Materials and Techniques for Starting a Campfire in Wet Conditions
3.1 Use Water-Resistant Fire Starters
Forget about trying to rub sticks together in a snowstorm. Pack reliable fire-starting tools like stormproof matches, waterproof lighters, or ferro rods. Better yet, carry homemade fire starters—cotton balls soaked in petroleum jelly, wax-covered pine cones, or commercial fire cubes—which ignite quickly even when damp.
3.2 Find Dry Tinder and Kindling
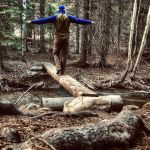
Dead branches hanging above ground or inside thick brush are often drier than fallen wood. Peel bark to expose dry inner layers, or whittle sticks into feather sticks to increase their flammability. Pine needles, birch bark, and dry leaves hidden under logs are all excellent tinder sources if handled carefully.
3.3 Build a Log Cabin or Teepee Fire Structure
These shapes allow better oxygen flow and protect inner layers from moisture. Start small and feed the fire gradually. If snow is falling, shield your fire ring with flat stones or reflective panels to help concentrate heat and reduce the cooling effect from surrounding air.
4. Real Campfire Experiences During Extreme Weather
4.1 Eli from Oregon’s Cascade Range
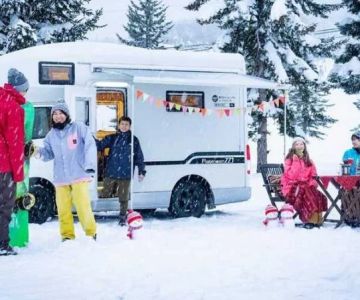
During a February snow camping trip, Eli and his group relied on pine bark and a few wax fire starters they had tucked away in a dry bag. “We cleared snow to the soil, built a base with birch logs, and covered the fire pit with a tarp lean-to,” he shared. “It took 30 minutes, but we got it roaring.”
4.2 Jasmine in the Adirondacks
Trapped in a sudden downpour during a fall solo trip, Jasmine used a Mylar blanket as a canopy and her aluminum cooking pan as a dry fire base. She used dryer lint stored in a pill bottle as tinder and got the flame going with a ferro rod. “Nothing beats the sound of fire crackling while rain hits your tarp,” she said.
4.3 Lucas from Montana
Lucas and his scout troop encountered a snowstorm in Glacier National Park. They used pine sap and dry cedar shavings collected earlier in the day. With teamwork and persistence, they created a fire ring lined with large stones, which radiated heat through the night. Their story became a lesson in resilience and preparation.
5. Getting the Right Gear Through Camp Spotter
5.1 Must-Have Items for Wet Weather Fire Building
To make your next wet-weather adventure easier, ensure you pack:
- Stormproof matches or a waterproof lighter
- Fire starter kit with wax cubes or tinder tabs
- Compact tarp or rain fly for shelter
- Portable dry sack to store kindling and fire tools
All these essentials—and more—can be found through Camp Spotter, a trusted source for outdoor gear tested by real hikers, campers, and survivalists.
5.2 Choosing the Right Kit Based on Region
Whether you're planning a trip to the damp Pacific Northwest or preparing for snowfall in the Rockies, your fire-starting gear should reflect your destination. Camp Spotter offers curated recommendations based on climate zones, terrain, and gear compatibility—making it easier to pack smart, not heavy.
5.3 Practice Before You Go
No gear in the world replaces practice. Use your kit at home in controlled conditions to understand how each element works. Fire-building during rain or snowfall becomes significantly easier when you’ve rehearsed the process beforehand—and that confidence can be a lifesaver when conditions turn serious.
 Rabbit Ears Campsite4.0 (5 reviews)
 Moon Lake Estates3.0 (37 reviews)
 Heron Pond Camp4.0 (6 reviews)
 Birch Creek RV Park4.0 (12 reviews)
 Spadra Park4.0 (179 reviews)
 Cascade Locks / Portland East KOA Holiday3.0 (766 reviews)
 The Future of Camping: Trends to Watch in Outdoor Adventures
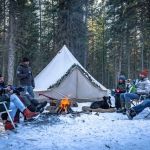 How to Plan a Multi-Day Winter Camping Expedition: Expert Tips for Success
 Top 5 Campsites That Allow Campfires Year-Round: Perfect Spots for Outdoor Enthusiasts
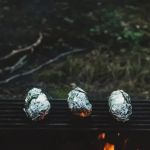 Best Campfire Snacks for Night Owls
 Camping Gear Trends for 2025: What’s New and Worth Buying | Camp Spotter
 How to Make Campfire Baked Potatoes Wrapped in Foil: A Perfect Camping Recipe